Monday, September 27, 2010

Mommy Manicure Monday: Fake nail rescue!

I love acrylic nails, for the most part. Probably because I can't grow my real nails out for one fig. The thing I don't like is the maintenance involved. Probably because I'm too busy to carve out a block of time to get them filled or removed after I'm done with them. Also, though my natural nails won't "grow out", they do grow fast, so after just a few days I have the dreaded gap, and my polish addiction stains them yellow after a couple of my obsessive changes.

So, let's pretend you have some stained, growing out nails, but you don't have time to remove them or get them filled. Because you have a deadline that is kicking your butt, maybe. So, let's pretend your nails look like this:


This is what my nails looked like on Thursday. Not pretty, right? The CND Shellac base coat held up pretty well, but since its job is to hang onto polish, it really held on to the yellow stain left by the brighter blues and greens I prefer. It was time for a little Macguyver style rescue.

This is the part where I tell you that I'm not a professional manicurist, and this is probably not advisable. But if you need a quick-ish fix and you don't have time for a nail appointment, this is what I did:

First, I filed the top of the nail, Shellac and all, right off, paying particular attention to the ragged edges of the grow-out line. I also did some shaping, as a week of typing and lugging bags around airports had messed up the tip shape slightly.

Between steps, I used a moistened cotton ball to remove dust. It helps you see better.

After removing most of the stained bits, I went to the buffer. Be really careful doing this that you don't file the acrylic too thin or completely off or something silly like that. Once they're buffed, this is a really good time to test for lift at your nail beds. If any nails are loose, apply a few drops of nail glue under the lifting edge and wait for it to dry.

Because the above steps have left tiny scratches and nicks in the surface of your acrylic nails, use a ridge-filling base coat. Or, what I'm using: Orly "Nails For Males" matte topcoat. Two coats makes a great base coat/ridge filler, and you can find it pretty cheap at some beauty supply stores, because it's been discontinued. Pick up two, if you find it.

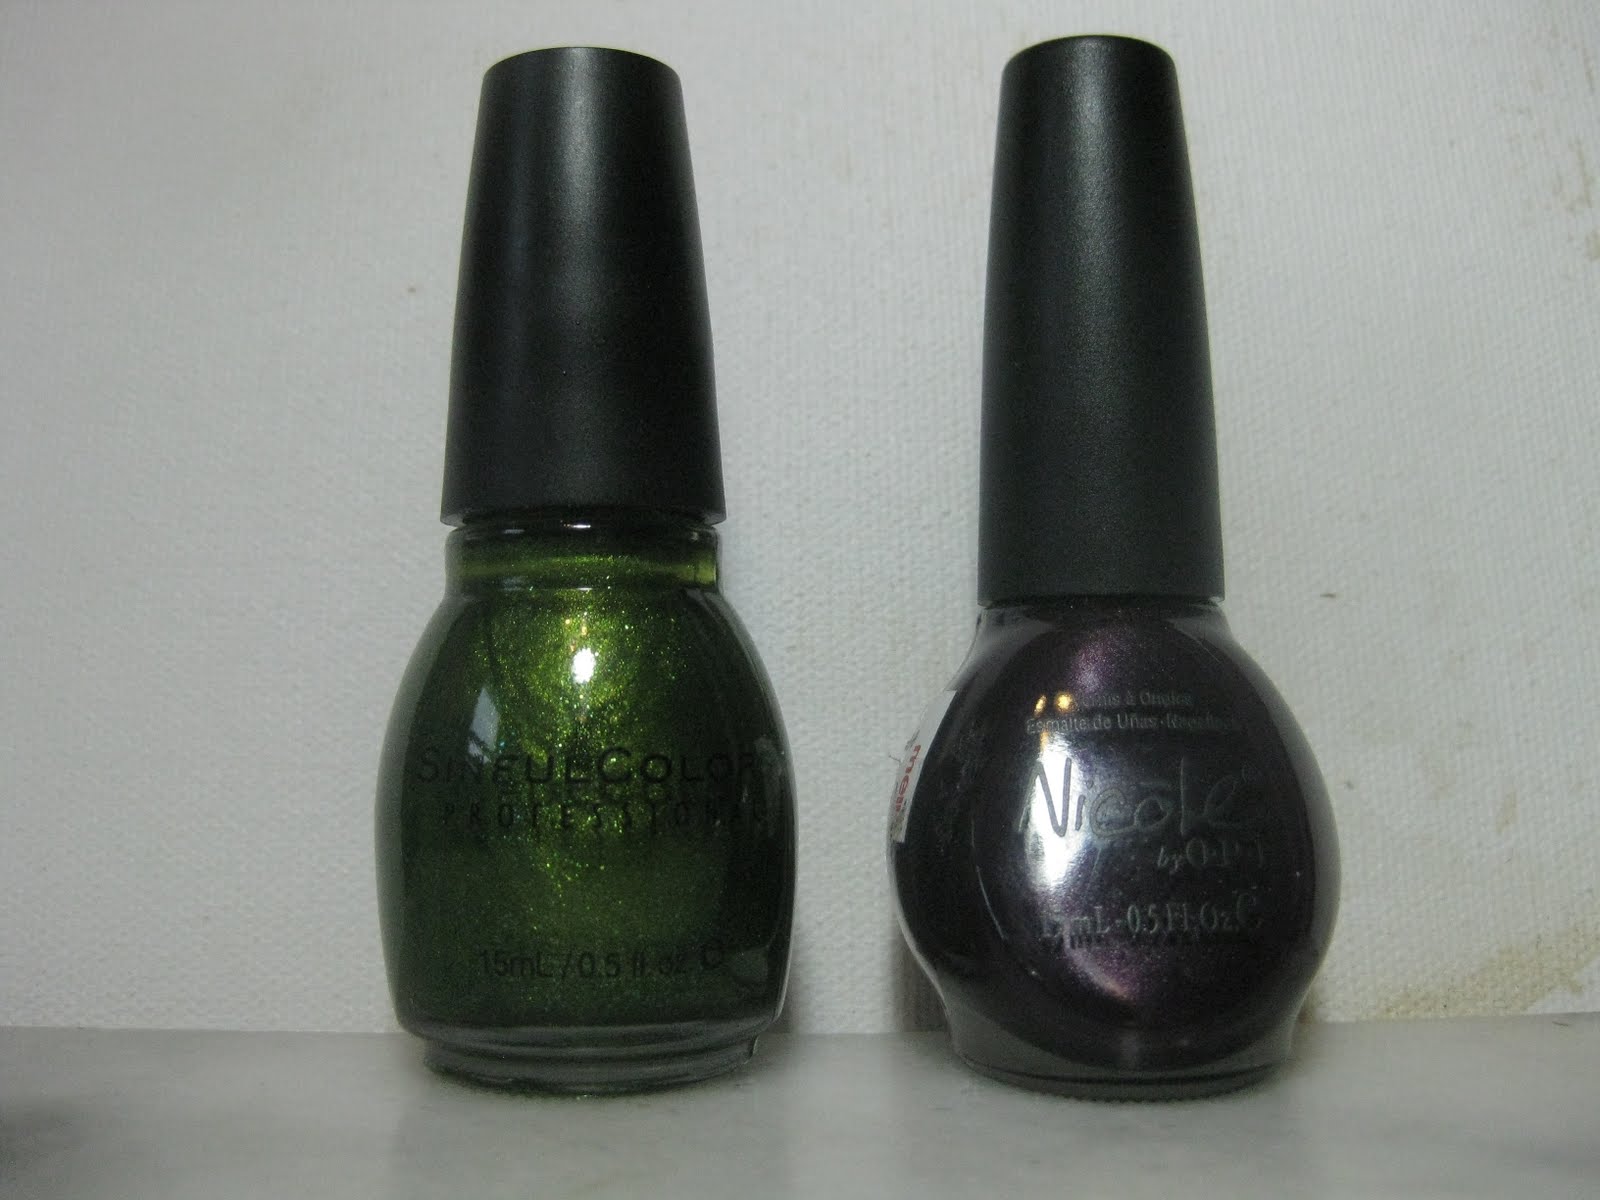
After that, I applied two coats of Essie "Pink Glove Service". Any translucent pink will do.

And I finished it off with a coat of Seche Vite.

It's hard to tell from the pictures, but there was a remarkable difference, and keeping the whole nail "natural" helps to disguise the grow-out line. If you're trying to stretch out your time between appointments, this has never gone wrong for me.

Thursday, September 23, 2010

Autumn Colors!

Today, R.E.I.T. and I will be talking about autumn colors, at the request of Bronwyn Green. We're not much for "seasonal" colors over here. We like wear what we want, when we want. But we do have some colors in our stash that just scream fall.

For people who are into jewel tones, Sinful Colors "The Way" and Nicole by OPI "Show You Care" will be nice and colorful, but still dark enough for fall.

R.E.I.T thinks: Noooooo. Aha.

Some subtle metallics might also be nice. Mary Kay "Mocha Freeze" and Pure Ice "Jaguar"

R.E.I.T. thinks: I like that paint.

If you're gonna go red in the fall, I recommend a deep berry color. Mary Kay "Feisty" and Essie "Wicked"

R.E.I.T. thinks: Toes. For toes. I like paint for toes.

That's a good suggestion. A dark berry red for a pedicure!
And I like pinks to be along the mauevish spectrum. Sinful Colors "Wicket Mind" and Mary Kay "Sagewood"

R.E.I.T. thinks: I don't want pink.

Finally, what autumn color spectacular would be complete without some browny greiges?

With or without shimmer, cool-toned browns (wait, is that even possible?) look classy for fall. Finger Paints "Autumn Allure" and Rimmel "Steel Grey"

We don't even need to ask R.E.I.T. on this one. She knows what she likes, and she likes bright, bright colors.

Take our color advice with a grain of salt, of course. We're not fashionistas, we just know what we like. And because we never throw anything away, some of these colors are no longer available. These are just to give you an idea!

Monday, September 20, 2010

Mommy Manicure Monday and MORE!


This Mommy Manicure Monday is more of a guest-starring manicure. This lovely set of acrylic nails is the handiwork of Lisa, owner of L.A. Nails in Delton, MI. Lisa has been doing nails for, gosh, at least fifteen years now, and she is a pro. The best part about getting my nails done by Lisa? All the nail gossip (she has a Konad stamper! I got to look through the kit and everything!)

Now, the color you're looking at is O.P.I. "Lucky, Lucky Lavender," which is just a fantastic color on all accounts. What's really special, though, is underneath. Friends, I have exciting news. I got to experience, first hand, CND Shellac. I know, I know, settle down now. Lisa used a CND Shellac base coat between the acrylic and the polish. The end result is, I can take this polish off and still have a gorgeous French manicure beneath that is shiny and protected. And I can apply more polish over it, provided that I use only non-acetone nail polish remover.

Now, because acrylic nails and I only get along for a short time (I have an attention span like a gnat), when I remove them, I'm going to try out a full CND Shellac manicure on my natural nails. Lisa recommends a clear CND Shellac manicure for people who have a tough time growing out their natural nails, because it offers a layer of protection you can't get from regular polish, and because it is lighter and more flexible than acrylic or gel nails. Between manicures, a client can file away the tell-tale growth line and apply clear polish over the entire nail to blend, though she does warn that people wishing to grow their nails very long will need to have the Shellac completely removed and replaced at some point in the process, because the weight of the Shellac on the nail tip will cause a break. CND Shellac isn't what professionals call a "fill" product, meaning it can't be touched up for regrowth.

Another miracle product she used were "magic drops" or O.P.I. "Drip Dry" lacquer drying drops. They are amazing, and I'm dying to add some to my collection. They dry the polish to the touch almost immediately, and your nails dry hard in five minutes. This is a must have product for us, because R.E.I.T. doesn't like waiting for her polish to dry with her hands in front of the fan!

R.E.I.T. has her own opinion of this Mommy Manicure: "A hands! I want! Put hands! Want paint!"

Expect to see more nail tips from Lisa right here on this blog, as she has graciously consented to let me pass them along!

Monday, September 13, 2010

Mommy Manicure Monday

Okay, I have to share with you the most bizarre nail polish I have ever tried:


It's Orly's "Old School Orange" from their Plastix line. It's not a glossy creme, it's not matte finish. It's just... plastic looking.

Application was horrid. What you see in the picture are three coats, because no matter how carefully you apply, it's streaky as hell. Your best hope is to get the streaks lined up just right. Also, it never dries. I'm convinced of it. Seven hours after I put it on, I ended up with tons of smudges, and that beautiful cross-hatch pattern the sheets make. This is probably due to the fact that you have to just use so damned much of the stuff to reach opacity.

Now, if you do get a dreaded smudge while drying from "very wet" to "extremely tacky forever", you may feel the urge to smoosh it back into place with your tongue. RESIST THIS URGE! This stuff is not like normal nail polish, and it will leave an extremely bitter taste in your mouth if you put your fingers anywhere near your tongue for like, the first twenty-four hours after application.

With all these drawbacks, would I recommend this polish? Tip wear showed almost immediately, and it scarred and showed all kinds of dents. You can't really use a topcoat, or it will ruin the finish. But something is fun about the weird way it looks. I got so many compliments on the stuff, I'm sure I'll wear it again. And it is very cool to feel and play with in line at the bank.

Onto bloggish news: I will be in NYC later this week (no, not for fashion week), so the blog won't return until next Monday or Tuesday. You'll have to live without us for that long, LOL.

Thursday, September 9, 2010

Shopping Haul and Bloggish News

Good afternoon everyone! R.E.I.T. and I just spent a wonderful afternoon at Sally's Beauty Supply. You see, today is Daddy's and my wedding anniversary (only four years, though we've been together eight), so as a present, Daddy let us go out on a little shopping splurge. What did we get? Soooo glad you asked. Here's what I picked out:


L-R: Finger Paints "Autumn Allure", Orly "Galaxy Girl", Seche Vite

I know what you're thinking. "Seche Vite? Top coats aren't wonderful and interesting, they're just clear." This is wonderful and interesting to me. For years I've used Sally Hansen Hard As Nails as my topcoat, and then when I started getting interested in nail blogs, I notice that just everyone uses Seche Vite and sang its praises. I've finally given in to the hype, and I'll do a comparison post after I do, so we can all find out if Sally has lost her crown.

Here's what R.E.I.T. picked:


L-R: Orly "Old School Orange", China Glaze "Solar Power", Orly "Royal Navy"

At one point, R.E.I.T. also had Orly "Purple Pleather" in her hand, then decided that it was too much like another purple. At least, I think that's what she meant by, "No, it's same. Same. Too same! Back!" before she put it back.

I also pointed out to Daddy that "Royal Navy" and "Solar Power" look a lot like Blue and Maize... the colors of Daddy's hated rival school, University of Michigan (Daddy is a diehard MSU fan). He was less than thrilled, so I promised that she would never be allowed to wear the two together.

I'll definitely be reviewing "Old School Orange" for a later post, as it is the most bizarre texture/color of any nail polish I have ever seen.

Now, onto bloggish news. Over on the right there, you should be able to see little mini-updates from all the nail blogs that R.E.I.T. and I like to read together. I'll be adding more in the next few days. If you know of a really kick-ass nail blog, drop us a link and we'll check it out. We love making new blog friends!

Wednesday, September 8, 2010

What's Wednesday Wearing?


R.E.I.T. is wearing a very complex look today. She started out with China Glaze "Secret Peri-wink-le" on her left hand, and Nicole by OPI "Show You Care" on her right hand. She then selected a few nails on each hand for french tips. The left hand got white and silver glitter tips, and the right hand got gold. You can't say she doesn't know what colors go together, can you?

Since we skipped a day of showing you our stash, let's get on with it, and show you our blacks:

L-R: Wet N' Wild "Black Creme", China Glaze "Lubu Heels", Sinful Colors "What's Your Name?", Sinful Colors "Secret Admirer".

Now, why are these all classified as black, when one looks kind of red, one kind of bluish, and one kind of silver? Because the bases of each polish are black. "Lubu Heels" is explained in our last post. "What's Your Name" is black with tons of micro-glitter that looks different depending what the angle is. Head on, it looks teal, but if you tilt your hand (or the bottle) and there's an aura of purple. Still, if you just looked at it on someone's hands, just a brief glance, it looks black. But my absolute favorite of these is "Secret Admirer". It's so full of silver micro-glitter, it should be blindingly sparkly on the nail, but it's not. Instead, it looks like you painted your nails with pieces of heavy artillery. It's definitely not a mess around kind of color.

Mommy: "Hey, R.E.I.T., do you have something you want to say on the blog today?
R.E.I.T.: "No!"

Well, I guess that's just about it for us today!

Tuesday, September 7, 2010

Monday Tuesday Mommy Manicure

Since Monday was a holiday, I decided to bump Mommy Manicure Monday a day. So, today I'm reviewing China Glaze "Lubu Heels".


That's my hand, a tiny bottle of brandy. Please excuse the messy job and the overall horrible condition of my cuticles.

"Lubu Heels" is a basic black creme with blood-red micro-glitter. That's three coats in the picture, with Sally Hansen Hard As Nails for a top coat. I really like the finish on this polish. It looks black, until you get it into the light, when the very subtle sparkle comes out. The best part of this polish is that it actually stayed on. China Glaze has amazing colors, but they always just sort of flake off within an hour or two on me. This one stayed put four days with minimal tip wear.

I don't know how often I'll wear this one, but I'm glad I bought it.

Friday, September 3, 2010

R.E.I.T. says today is pink.

Today, we're going to share our pink nail polishes! R.E.I.T. thought that would be the perfect color for today.

Mommy: Is there anything you want to say on the blog today?
R.E.I.T.: Mmmhmm.
Mommy: What do you want to say?
R.E.I.T.: Whoa! Careful. Be careful with the paint.

Consider that a reminder from R.E.I.T.: Be careful with your nail polishes. If you drop them, they might break. She knows from experience.

Message from R.E.I.T.: Careful paint. Like with babies.

Because we both like pink, our pink collection takes up two photos:


L-R: Sinful Colors "Wall Street", Mary Kay "Sagewood", Sinful Colors "Wicket Mind", Sinful Colors "Bali Mist"


L-R: Sinful Colors "Forget Now", Pure Ice "Flirt Alert", Studio M "Infusion"

Hopefully that's enough nail goodness to last the weekend. Monday will by Mommy Manicure, and I'll be reviewing China Glaze "Lubu Heels".

Thursday, September 2, 2010

Boring Mommy polishes

Since R.E.I.T. is tres grumpy this morning, she's taking a day off from posting. I mean, after all, she has a very busy life, and sometimes a girl needs a little extra beauty sleep or Mommy with snap like an overstretched rubber band!

Anyway, since she's not going to be involved in this post, I thought I would share the portion of our collection that she is least interested in. Yup, the polishes I use for French manicures:

L-R: Mary Kay "Natural Pink", Sinful Colors "Snow Me White", Pure Ice "Super Star!", Essie "Pink Glove Service"

Yes, I realize there are two whites there. It doesn't show very well in the picture, but they are different whites. One is more of a cool, blue based white, and the other has a slightly warmer tone. I like to have variety. And Essie "Pink Glove Service" is my go-to top coat for French manicures, or any time I'm going to just leave my nails bare, but I want a little shine. It's just barely tinted pink, not at all the bright color you see in the bottle.

Since there is nothing glittery or brightly colored about French manicures, R.E.I.T. doesn't see what all the fuss is about.

Wednesday, September 1, 2010

Did someone say purple?

This is one of the many areas where R.E.I.T. and I differ in terms of our polish preferences. I don't have a lot of love for purple. Some people can wear purple nail polish and look funky and cool. If I wear it, it looks like I slammed my hand in a car door. But R.E.I.T. loves purple. It was the first color she was actually able to name, and she wears it at least once a week on her nails.

So, most of the purples we have are ones R.E.I.T. has picked out:

L-R: Mary Kay "Feisty Fougueux", Sinful Colors "Fiji", Studio M "Frenzy", Orly "Charged Up", Nicole by OPI "Show You Care"..

Since Wednesday is R.E.I.T.'s namesake day, I thought it would be cool if she could share her nail look of the day with you:


She decided to layer Studio M "Whose That Girl" and Sinful Colors "I Miss You". I think it takes a lot of guts to layer blue and pink!